Let me start by saying, I am no artist. I am also not a professional nail tech. And I will not be on the next season of the Reality TV Competition Nail'd It. This is a simple nail art tutorial for beginners.
So, I am obsessed with mustaches. And while I was in beauty school, I was playing around one day and decided to try and do an accent nail with a mustache. This post is the result.
What you will need...
Mustache Nail Art Supplies
Black acrylic paint or nail polish
A large and small dotting tool (or you can use a toothpick if you need to)
How to...
Polish your nails and let them dry COMPLETELY. Wait as long as you need to, to be sure your nails are absolutely dry.
Place two dots using the large dotting tool, slightly touching in the center of your nail.
Step 2.
Place two more dots using the small dotting tool, off to the sides of the larger dots.
Step 3.
Connect the dots using the small dotting tool with short strokes. There is usually enough paint placed on the nail with the dots to make this work. But you can add a tiny bit more if you need to.
Step 4.
Apply your top coat. Voilà!
So the reason I suggest using acrylic paint, as opposed to regular nail polish, is thus... If you make a mistake, All you have to do is WASH YOUR HANDS WITH WATER to remove it. It's not the end of the world. And as long as your manicure is completely dry, you could mess up 1,000+ times. It won't matter. Just wash it off and try again. Also, you can use a topcoat over acrylic paint the same way you can with nail polish and that will protect it from washing off once you get it right.
Check out this video to see me practicing...:
Let me know if you try this out! Or if you have another way of making a mustache!!! xoxoxo
In honor of my new favorite WEEKLY holiday, I have a #ManiMonday post for you...
If you know me, or if you follow me on IG (@the_wonKy_brow), than you know I am OBSESSED with nail polish. Seriously, OBSESSED. In the last year or so, I removed my acrylics (which I had FOREVERRRRR) and started doing my nails at home. Now... I'm not a professional (YET. I'm working on that though) but I try... and I enjoy it... and it makes me happy.
So without further ado... Here are some of my favorite manis:
Current #ManiMonday Ombre on the Left, Water Marble on the Right (still practicing both, not as easy as they look) done with Essie's Playdate, Boom Boom Room, and Romper Room
Here's a few things I've learned in the last year...
It's all about the brush. Wether it's eyeshadow or nail polish, it is ALWAYS all about the brush! So try different brands and find one that you are comfortable with. I prefer a flatter, wider brush (Rimmel 60 Seconds is a good example of this) especially because I'm an amateur.
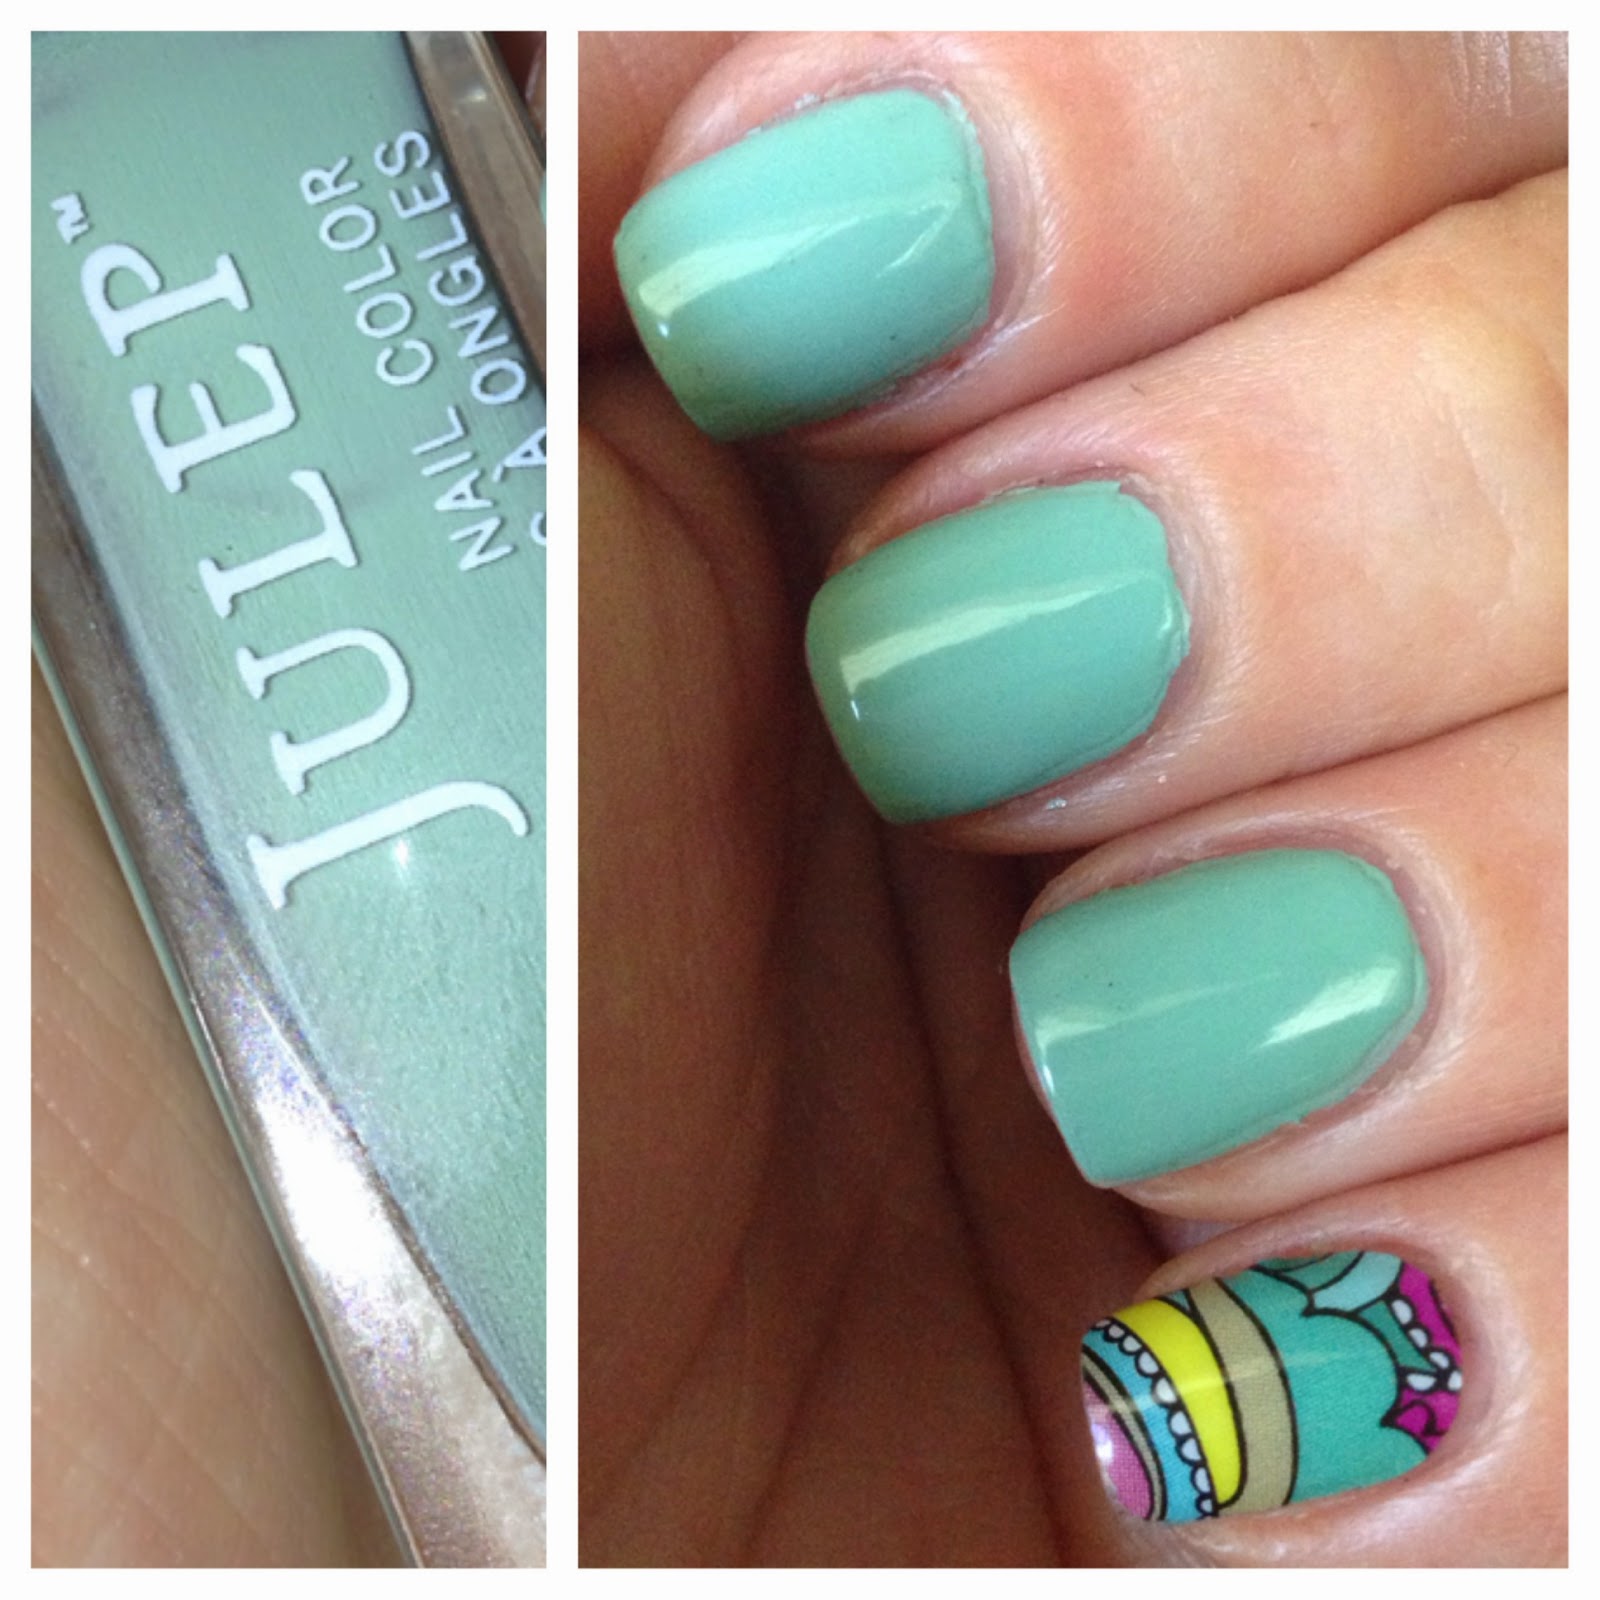
Not all polish was created equal. And just because it's more expensive, DOESN'T mean it's BETTER. I love Essie... For their color selection. Formulation wise, eh... They kinda suck. My nails will chip within 24 hours. And sometimes you need three coats to reach the optimum level of opacity. THREE... Do you know how long that takes to dry?!?!? I can't. I just can't. Right now, my favorite polish for their formula is Julep. I also like to use nail wraps. I am a fan of Jamberry. They are much more high maintenance and more expensive than the Sally Hansen ones you can get at your local drugstore. BUT, they last a lot longer and are more durable than the drugstore versions.
Take your time. It's Murphy's Law... If you're in a rush, you're gonna mess up. And always, always, always... Pee before you polish. Not trying to be gross, it's a simple truth. Nothing messes up a fresh manicure like a potty break.
Just like dogs, the polish can sense your fear. Relax, it's not life and death... So if you do screw it up, just start over.
You don't have to cover your ENTIRE nail. Start a little bit above the cuticle and away from the nail grooves so that you don't get polish on the skin all around the nail (I still have trouble with this).
If you do get polish on your skin, use a short eye smudger brush dipped in acetone to remove it. Because these types of brushes are usually shorter and smaller, you can really get into the nail grooves to remove your renegade polish.
YouTube. There are a bazillion nail tutorials out there. For everyone, even the beginners. I like to watch MissJenFABULOUS. I also like to search Instagram and Pinterest. Everyone is obsessed with nail art right now. Finally, a trend that truly touches my heart...
Scotch Tape is for more than wrapping paper. You can use tape when doing nail art to get straight lines. Polish your nail. Let it dry (thoroughly). Place a piece of tape on your nail at any angle and polish again. Remove tape, instant nail art. Once you've tried it a couple times you can get a little more fancy... Like making triangles. Ohhhhhh yeahhhhhh. ;-)
Lastly, don't be scared. Have FUN and be creative. What's the worst that can happen?!?
I am a nail polish addict. If you know me, then this is not news. If you follow me on Instagram, then this is not news. Since I was 15 years old I have been getting my nails done on a regular basis. Until this past year, I've always had acrylics. Now that I'm going au naturel, I constantly change my polish and I'm addicted to nail designs and nail art. (I'm getting better each time... But it's a work in progress... lol.) A few weeks ago a Jamberry Independent Consultant (Shout Out to Torry Corbett) emailed me asking if I'd like to try some nail wraps. Now, I had never heard of "Jamberry" before, but the words NAIL WRAPS and TRY stuck out and I thought holdddd uppppp... Does this mean FREE??? (It did.) So I replied post haste and said "YES, yes I would." (Then I googled Jamberry and was impressed with what I found.) Now in an effort to be completely transparent... I was not paid to write this blogpost. (Not even in nail wraps.) Torry, my consultant, sent me some samples free of charge to use as accent nails and she asked for NOTHING in return. Butttttt... I LOVED these nail wraps and figured I'd let the world know.
What I received...
How I used them...
I started small since I had never used any nail wraps before, and just did my pinky.
And it lasted. Though the polish did not. I had this wrap on for about a week and a half. It could've held up longer but I suffer from Nail Polish ADD. Plus working in retail is not a manicure's best friend.
Next I used a regular wrap and an "over-lay" that you put on top of polish so that the color shows through. Again the regular wrap lasted about a week and a half. Sadly the over-lay did not, simply because it was ON TOP of the polish...
Just the other night I finally sat down to do my nails for the first time in THREE weeks. And I had to use some more of my nail wraps. I'm officially obsessed with the houndstooth print (that would be the one on my ring finger.)
A few more details...
Now there is a process to putting these wraps on... But as long as you have a heat source (like a blow dryer) it's pretty simple.
Lastly, Torry did mention that IF I like the wraps, I could host a "Facebook party"... Ummm, hello... Two of my favorite things... Facebook and Party. So I said to sign me up! IF you are interested and would like to join in on my Virtual Nail party (Again, I'm not being paid to say this, however, based on sales I could possibly earn free product.)... Check me out on FB (shameless self promotion) I now have a page for The Wonky Brow. If you're interested in the wraps but not the "party" check out Torry's page here! (This is her consultant link to the Jamberry site and so she gets credit for any purchases made through her link.) Or if you just want to browse... They have some great designs. I already know exactly which ones I want! Like these... and these... and these... and these... Just to show you a few. ;-)
I've decided that I really enjoy using nail wraps thanks to these samples... I like that they are easy to use, add an accent to my manicure, look neat and polished, and best of all I can do it myself. What about you? Have you tried any nail wraps? Which are your favorites? Let me know!!! Until next time!